


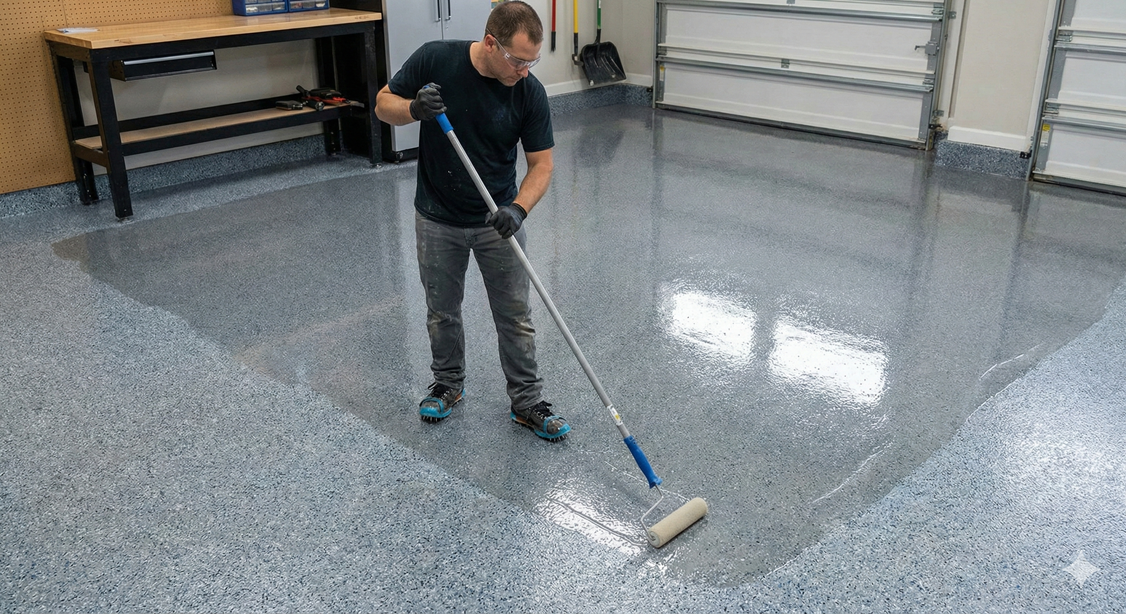
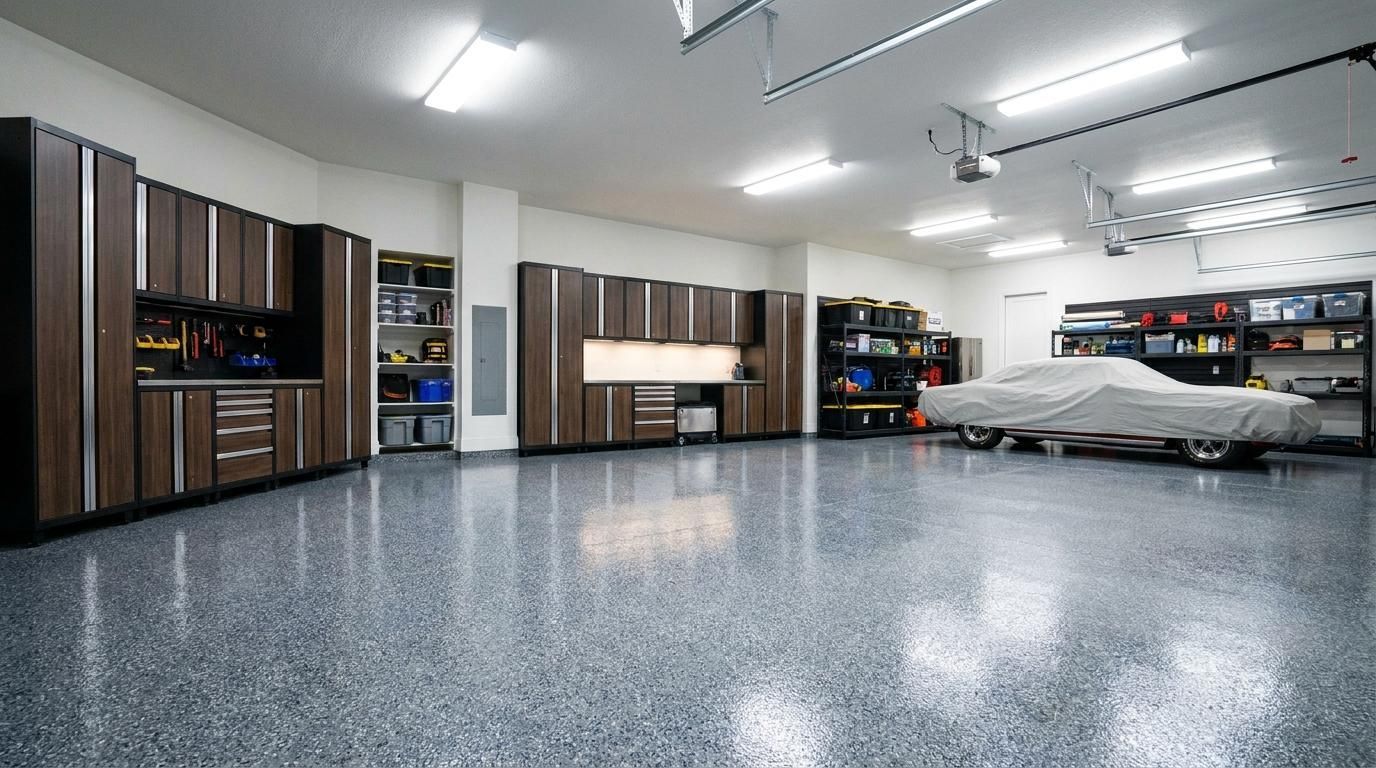
An honest breakdown of epoxy garage floor pros and cons for Tampa homeowners, including UV yellowing, cure time, and why prep and product quality decide the outcome.
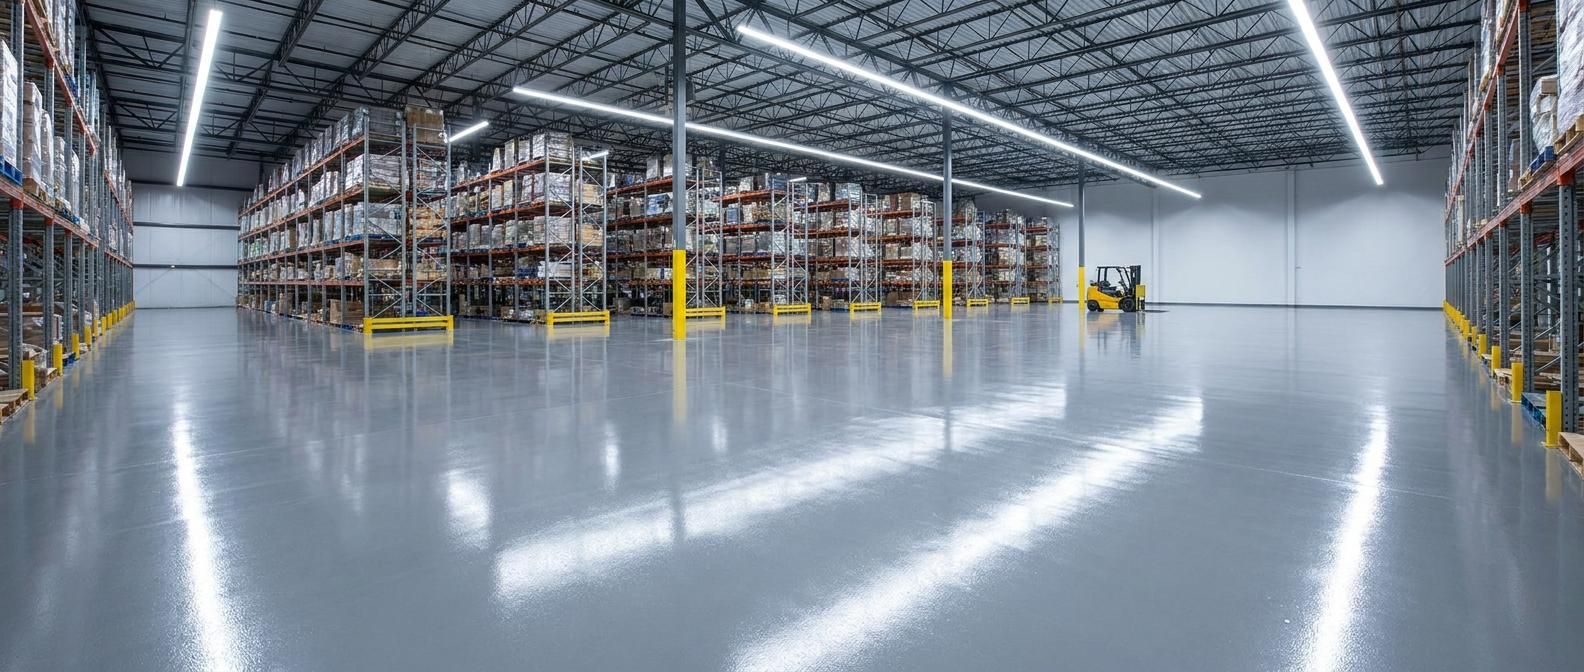
5 warehouse floor coating options for Tampa's industrial facilities: industrial epoxy, polyaspartic, chemical-resistant, anti-slip, and moisture-mitigation systems.

5 patio and lanai coating options built for the Florida sun: polyaspartic, decorative flake, resurfacing overlays, stained concrete, and epoxy for covered lanais.
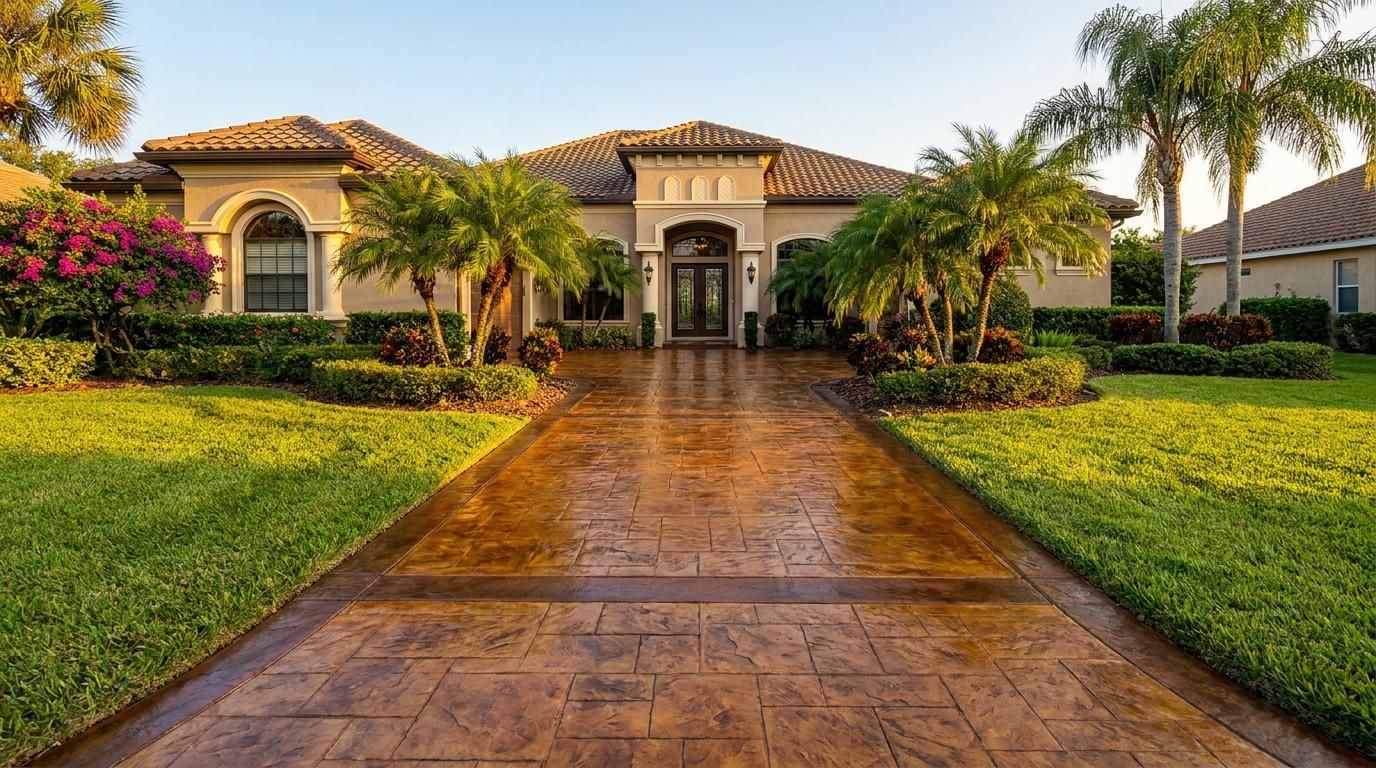
The best outdoor concrete coating for high-value Tampa homes is a UV-stable polyaspartic or decorative overlay. See top options and where they boost curb appeal.
Pool deck resurfacing cost in Tampa runs $4 to $15 per square foot. See 2026 pricing by system and deck size, what drives the price, and resurface vs replace.
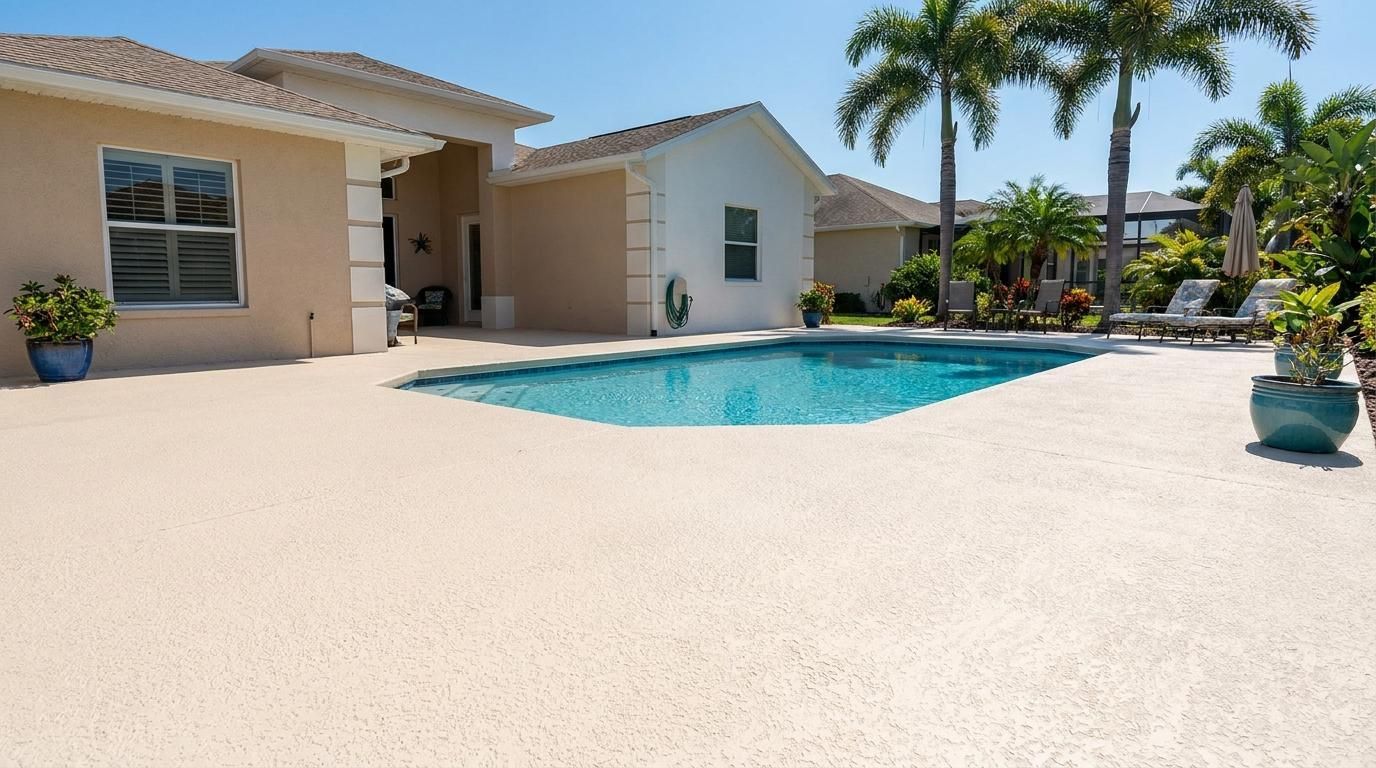
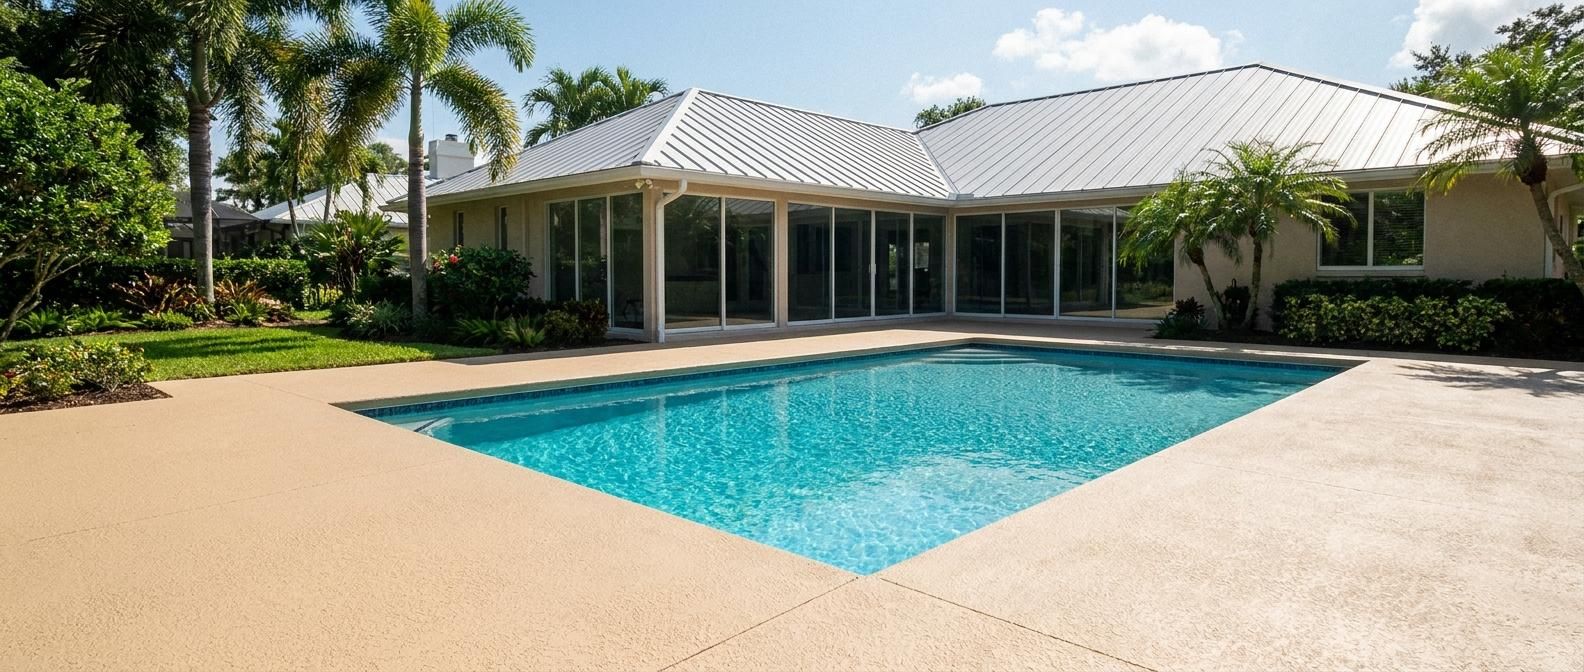
Compare the best concrete coatings for Florida pool decks: cool deck, epoxy, and polyaspartic. See how each handles heat, UV, and pool chemicals in Tampa.
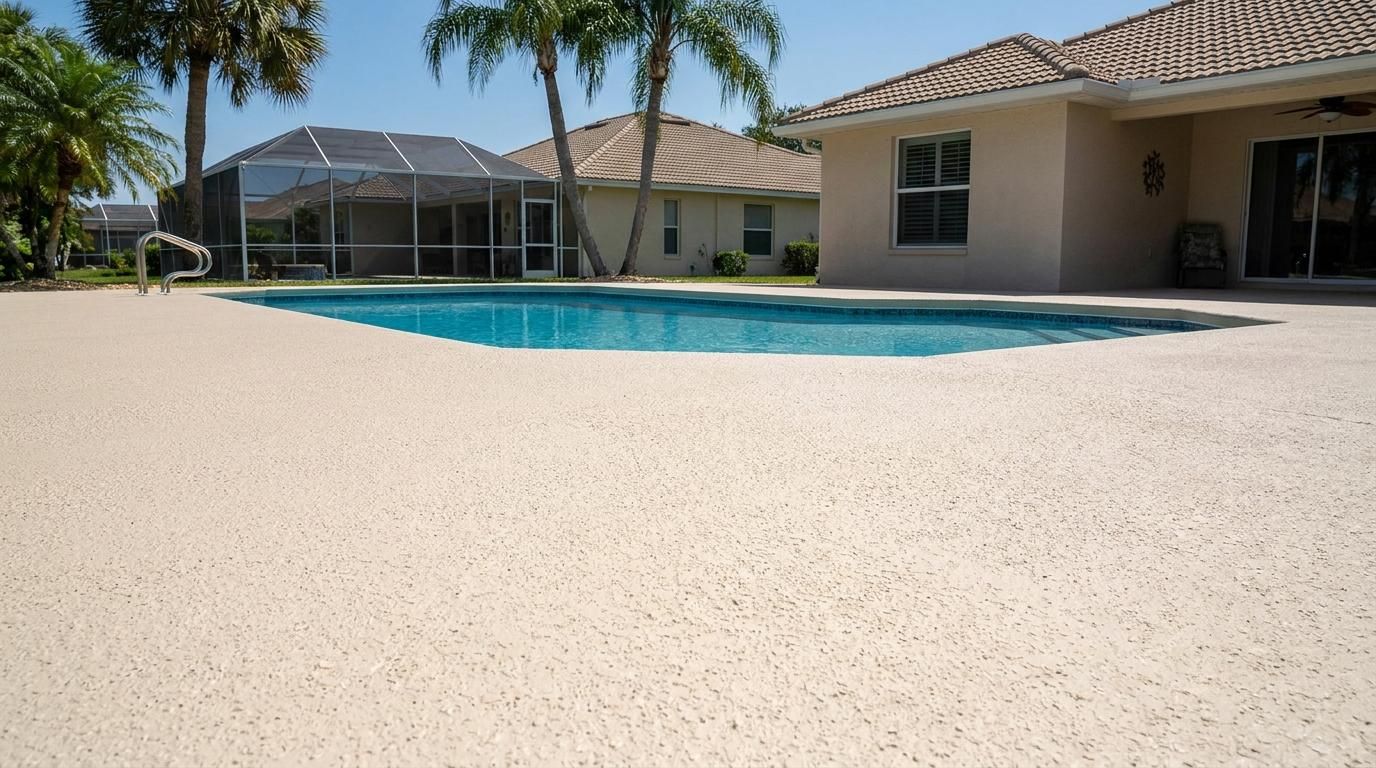
Explore 5 pool deck resurfacing ideas built for Tampa's heat and humidity, from cool deck coatings to decorative flake. Concrete Surface Pros discusses each.
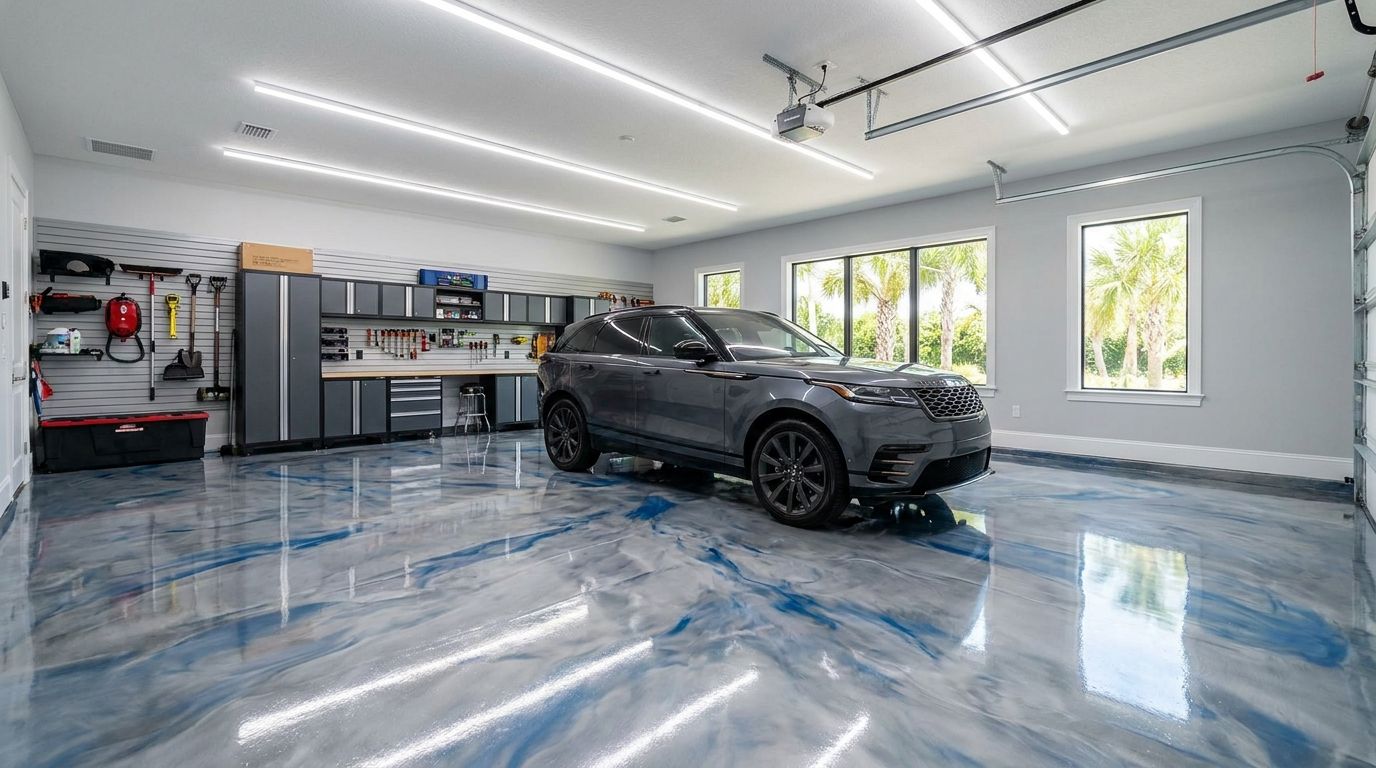
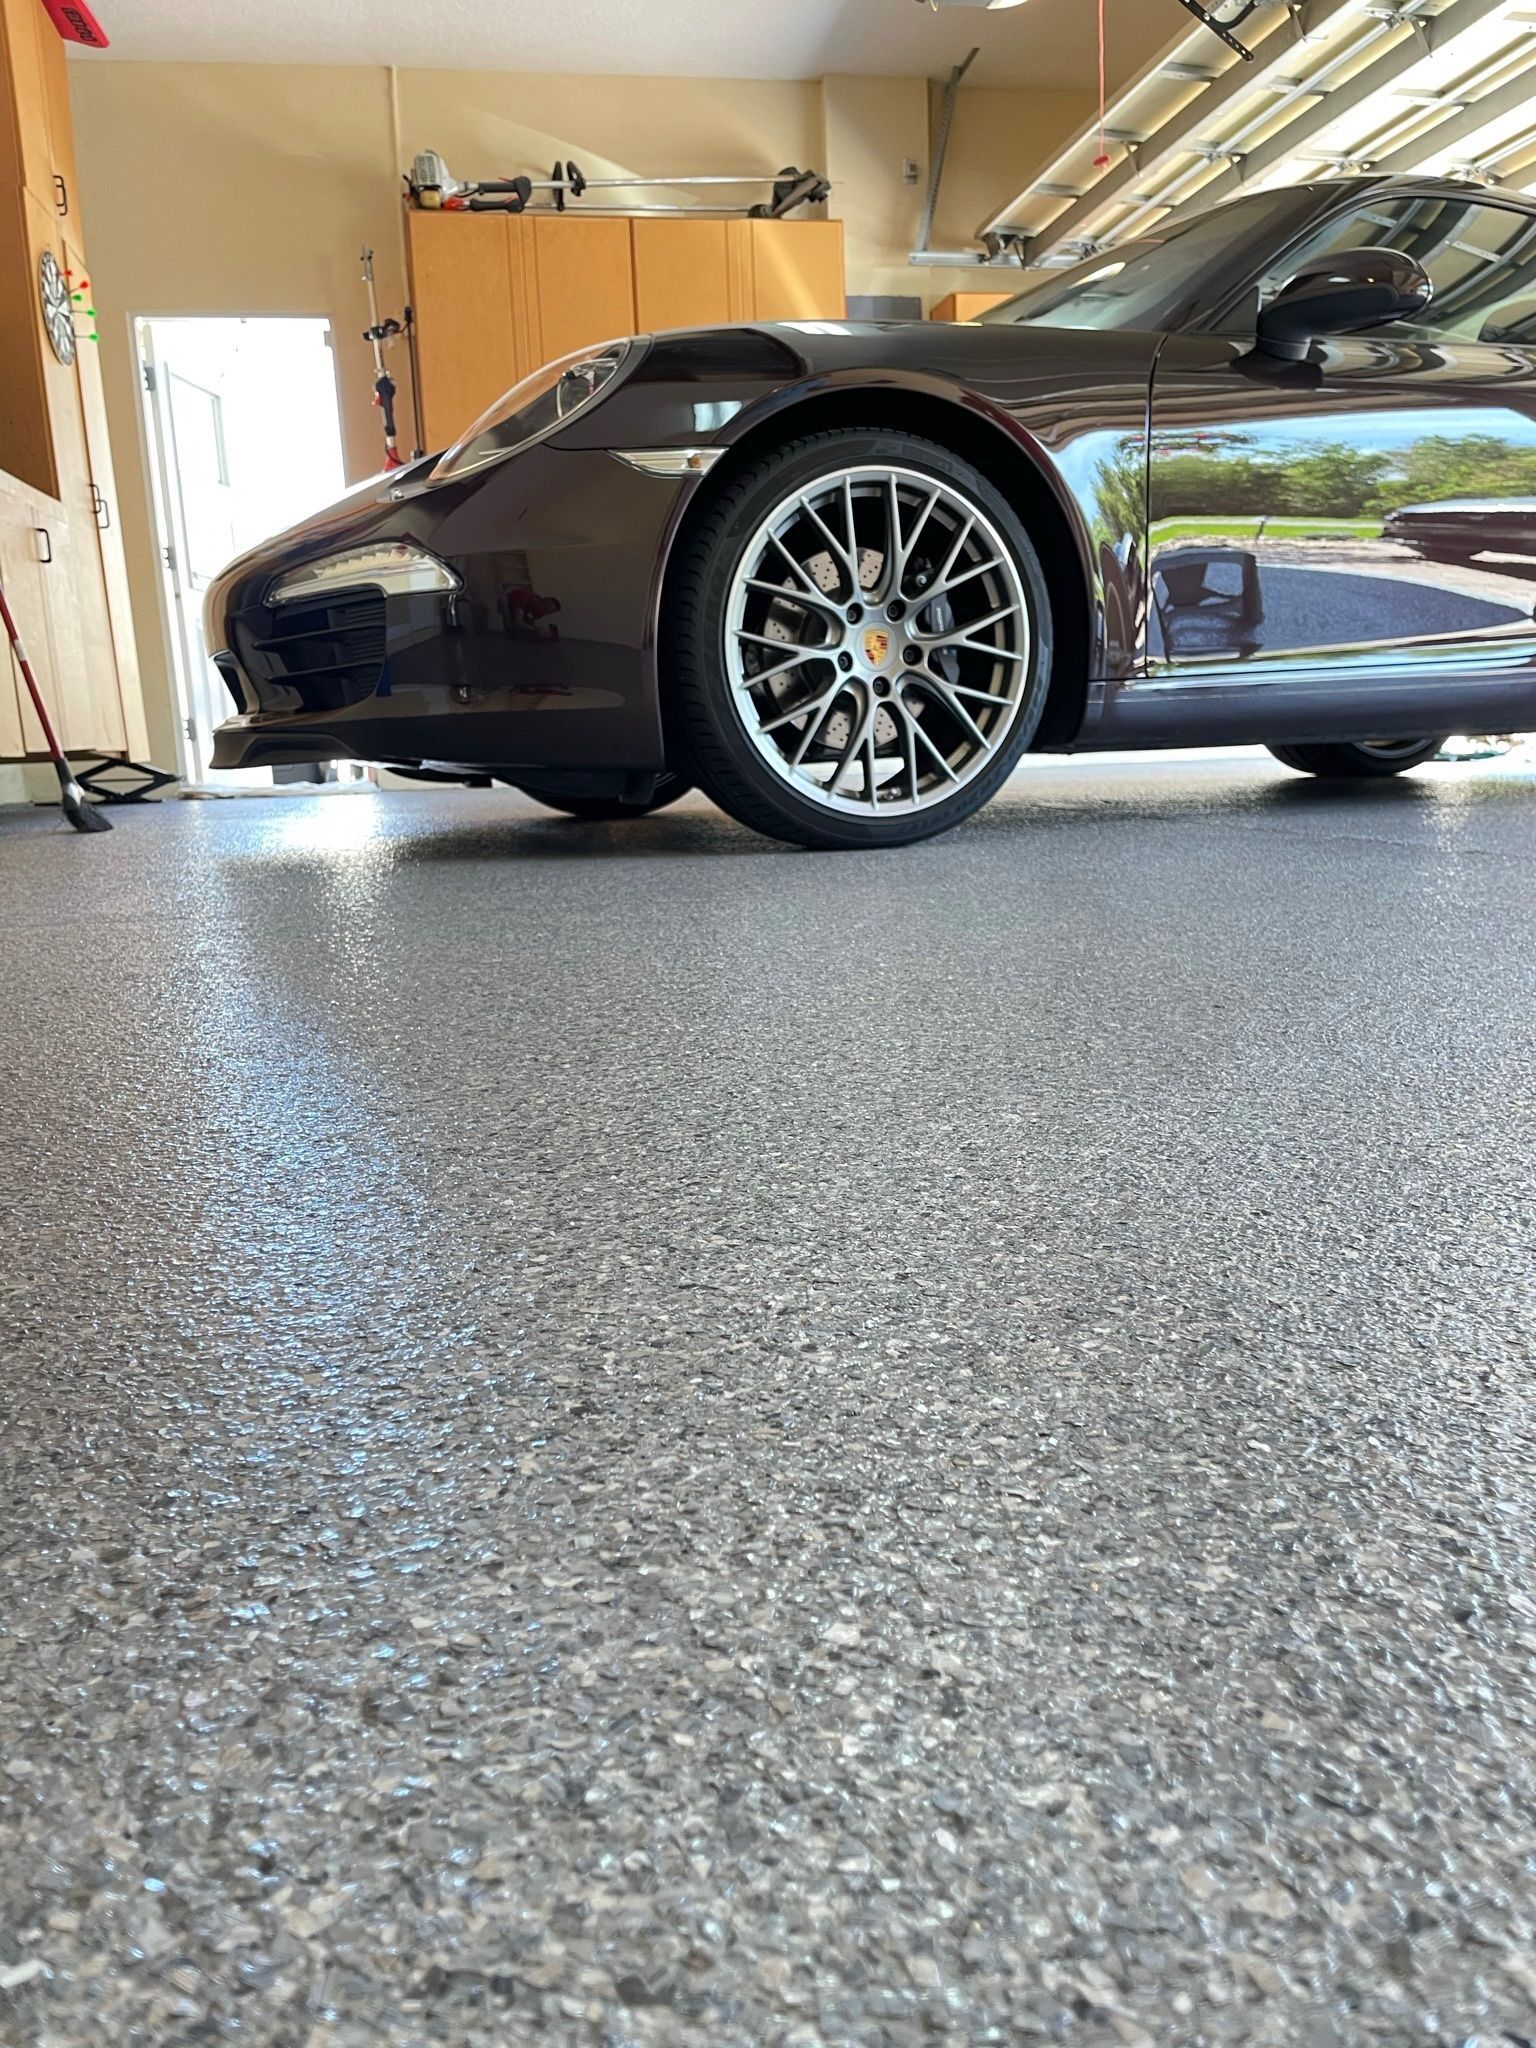
Is epoxy flooring worth the investment? Compare costs, lifespan, and ROI for Tampa homeowners. Learn the honest pros and cons from local coating professionals.
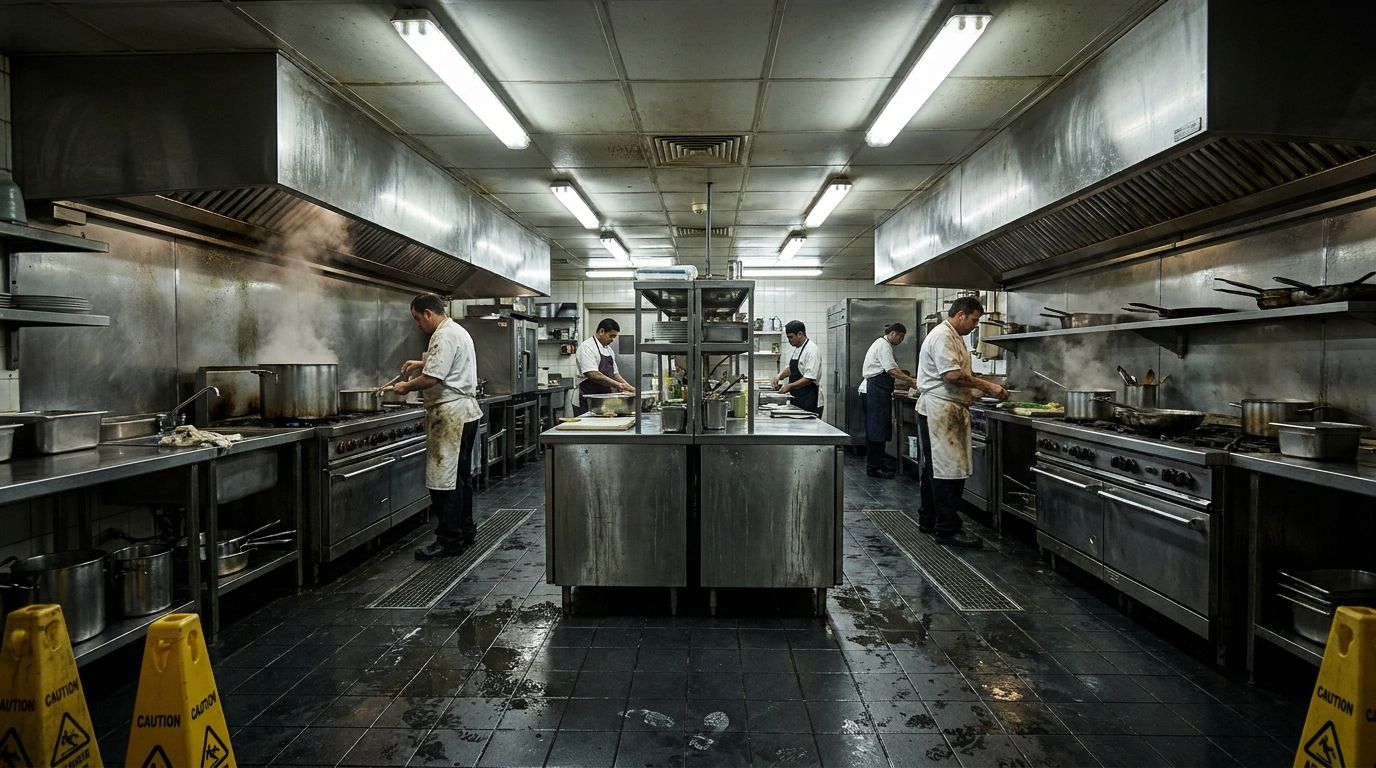
Discover the best commercial kitchen floor coating options for Tampa. See Florida health code requirements, costs, and which system fits your operation.
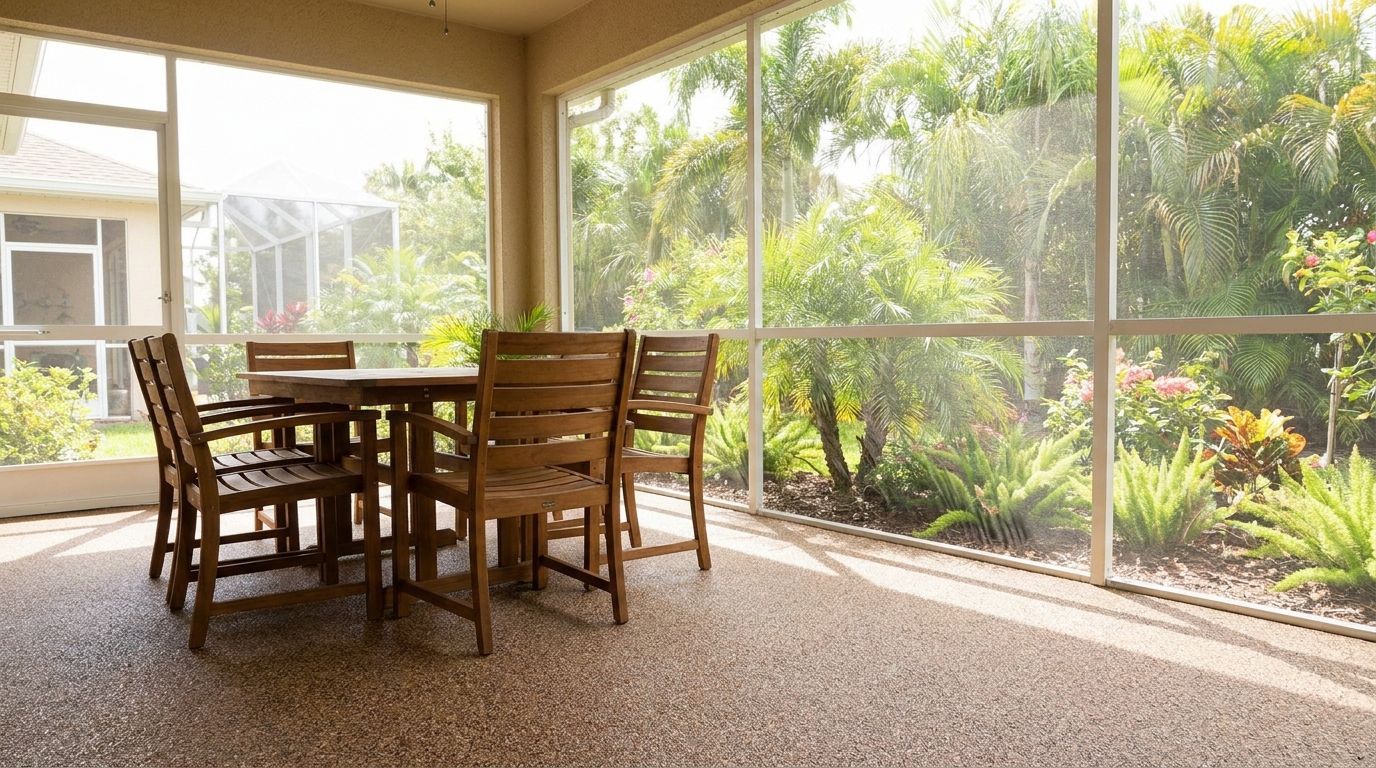
See 3 decorative concrete patio ideas for Tampa weather: decorative flake systems, epoxy coatings, and resurfacing overlays. Check their costs & durability.